
In the world of 3D design, texture mapping is the essential process that transforms digital models into visually compelling creations. This technique is especially vital in fields like architectural visualization and digital twins, as it provides realistic representations that succinctly communicate design concepts. With advanced 3D modeling software such as 3ds Max, mastering texture mapping is not just a skill but a necessity. Whether you're working on luxurious interiors or intricate exteriors, applying textures correctly can significantly enhance a project's visual fidelity. However, navigating the complex terrain of texture mapping can present various challenges that disrupt an artist's workflow. This guide explores the nuances of 3D texture mapping in 3ds Max, identifies common obstacles, and offers practical solutions to help artists improve their craft.
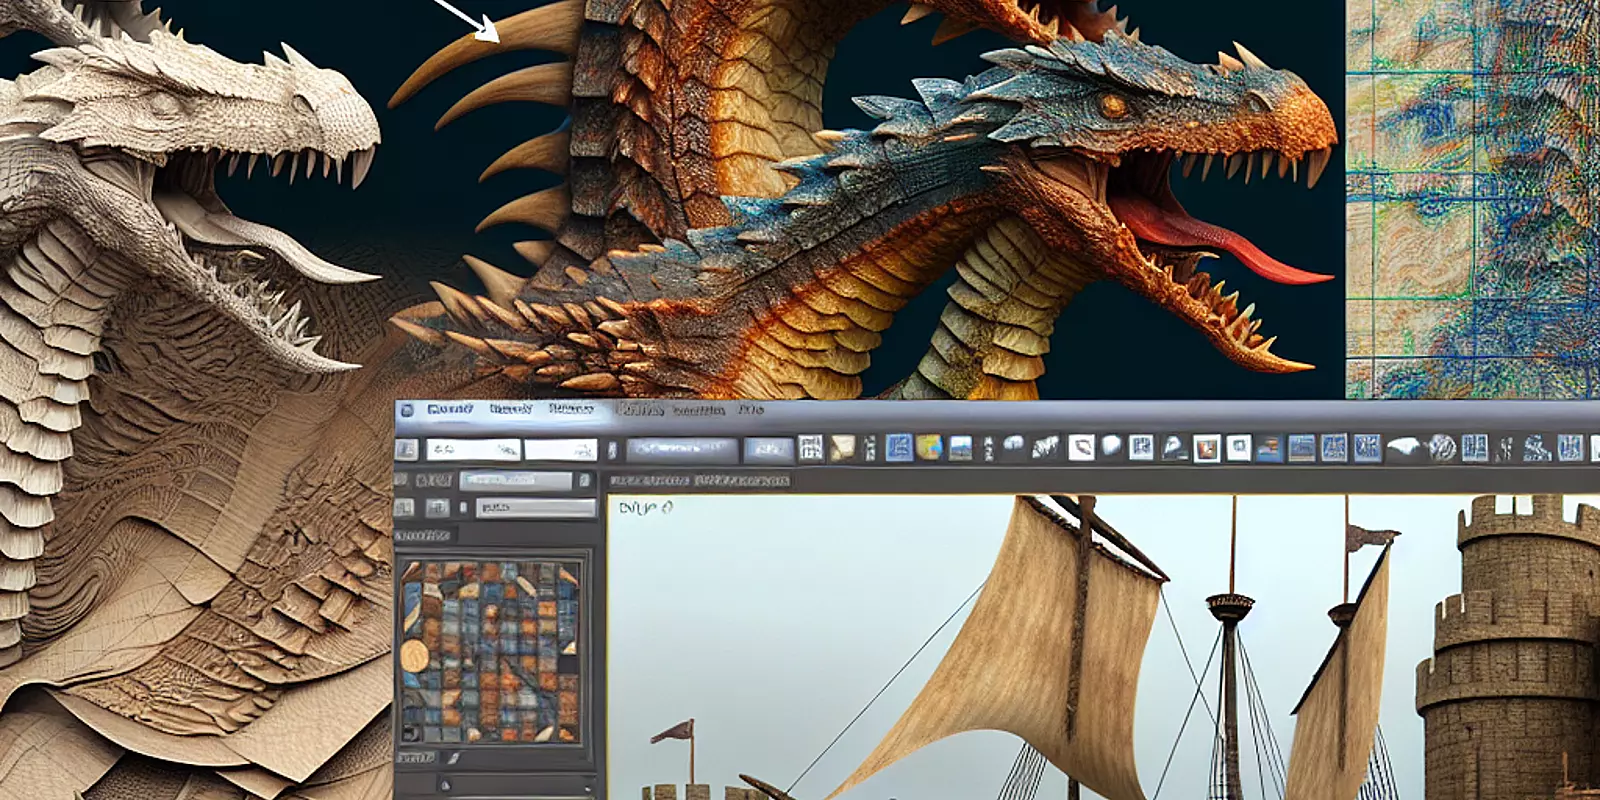
UVW mapping is a crucial technique within 3D texture mapping that allows artists to apply textures accurately to 3D surfaces. The 'U', 'V', and 'W' coordinates are analogous to the 'X', 'Y', and 'Z' axes in physical space, enabling a three-dimensional layout to be translated into a 2D texture map. This process begins with unwrapping the 3D model so that its surface can be aligned with a 2D texture accurately, avoiding any distortion.
Common pitfalls in UVW mapping include overlapping UV islands and incorrect scaling, which leads to visible seams and inconsistent texture detail. Beginners often neglect to maintain an organized UV layout, which is crucial for maximizing texture space and avoiding overlaps. This can lead to rendering issues where textures appear stretched or mismatched. By understanding UVW mapping techniques, artists can optimize textures, particularly for complex models. Regularly checking and adjusting the UV layout ensures effective texture application and results in cleaner and more vibrant textures in 3ds Max projects.
Applying textures effectively is integral to achieving realistic and aesthetically pleasing 3D models, yet artists frequently encounter challenges such as shiny textures and visibility problems in the UV editor. These issues can stem from improper material settings, UV errors, or lighting discrepancies. For instance, excessively shiny textures might result from high gloss settings or low-resolution images.
To address these issues, artists should deconstruct the texture to its basic elements. Begin by examining the 3ds Max Material Editor to ensure the specular levels are balanced, offering a blend of reflective and matte finishes. Consistency in UV scaling is also critical; any mismatch can cause textures to appear stretched or pixilated.
If a model's texture appears excessively reflective, reducing the Specular Level and adjusting the Glossiness parameter will yield a more natural appearance. Lighting is another important factor; harsh lighting can exacerbate shiny textures. Using soft, ambient lighting can enhance texture depth and visibility. These techniques are essential for overcoming challenges that artists face in 3ds Max, allowing them to navigate texture mapping hurdles more efficiently.
The Material Editor in 3ds Max is a powerhouse tool for artists aiming to manage textures skillfully. It provides a user-friendly interface for comprehensive material adjustments. Understanding the Compact and Slate Material Editors will help artists use this tool to its fullest potential. While the Compact Editor is ideal for quick tasks, the Slate Editor's visual graph is better suited for more complex materials.
To streamline workflow in 3ds Max, leverage the drag-and-drop feature to apply materials across multiple objects quickly, and utilize the material library for easy access to pre-made, adaptable materials. The preview feature is particularly valuable, as it allows real-time feedback when adjusting textures, reducing the need for repeated renders.
Adjusting parameters such as reflection and refraction properties contributes to rendering realistic surfaces. Proper management of UVW coordinates ensures that textures align correctly, avoiding issues like stretching and misalignment. By mastering these features, artists can significantly enhance their texture management, leading to professional-grade results in their 3d texture mapping projects.
Efficient topology management is key when aiming for superior texture mapping outcomes. Well-structured topology not only facilitates better UV unwrapping but also optimizes the model's interaction with lighting. Aim for a polygon count that balances detail with performance, tailored to the project needs.
Favor quads over triangles, as they subdivide more predictably, and pay close attention to edge loops where detailed texture is needed. For hard-surface models, ensuring the flow of geometry facilitates smooth texture applications.
Managing UV seams effectively is vital to avoid texture inconsistencies. Place seams strategically in less visible areas and ensure consistent scaling across UV islands for uniformity. Regular checks in the UV editor can reveal and correct any stretching or distortion, thereby enhancing workflow efficiency.
By incorporating these best practices, artists can improve the visual quality of their 3D models and master advanced texture mapping techniques. Investing time in refining these foundational aspects leads to compelling, technically sound work, supported by detailed modeling, meticulous UV management, and a keen attention to detail.